Welcome to this Friday’s VTNS Fan Freebie!
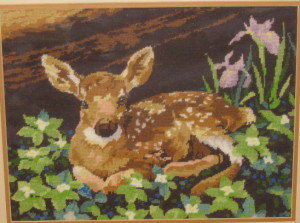
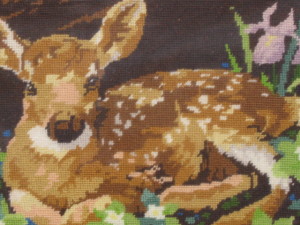
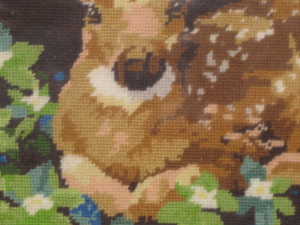
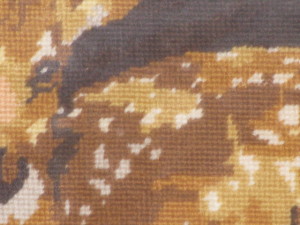
I bought this beautiful fawn needlepoint picture at an estate sale several years ago. It now hangs in my guest room. The workmanship is incredible as you’ll see in the close-up photos below.
Needlepoint, or needlework tapestry, has been a favorite art for many years. It had it’s beginnings thousands of years ago when the ancient Egyptians used small slanted stitches to sew up their canvas tents.
In the 19th century Berlin work used brightly colored wool yarns to make slippers, pillows, pictures, footstools, chair seats and bags.
It’s defined as any form of embroidery that is worked on counted threads or where stitches completely cover the material on which the work is done.
The standard size mesh canvas used for needlepoint is 10 squares or openings to an inch, but other popular mesh sizes are 12, 14, 18, and 24.
Mono canvas is made with one thread going over and one going under. A two thread canvas, which means the threads are laid two by two close together is sometimes called penelope canvas. Petit point canvas is 15 meshes to an inch.
Some canvases have a painted on or stamped design to follow. Others have a partially done design and you fill in the background.
Tapestry can be worked either in a frame or in the hand. Tapestry or worsted needles should have a blunt point with an oval eye wide enough to thread easily.
Cotton thread or yarn are best for working needlepoint. Six-strand mercerized cotton is suitable for fine needlepoint pieces. Tapestry wool yarn comes in many varieties and colors.
When you start your piece remember to leave an inch of thread on the wrong side and “catch in” that inch by stitches as you work. It’s best not to use a length of thread over 30 inches. More than that will tend to tangle.
Here’s a small 3″ x 7″ Happy Thanksgiving greeting project to try.
There’s so much more to needlepoint and what you can create with it, but this is a quick introduction to get you started.
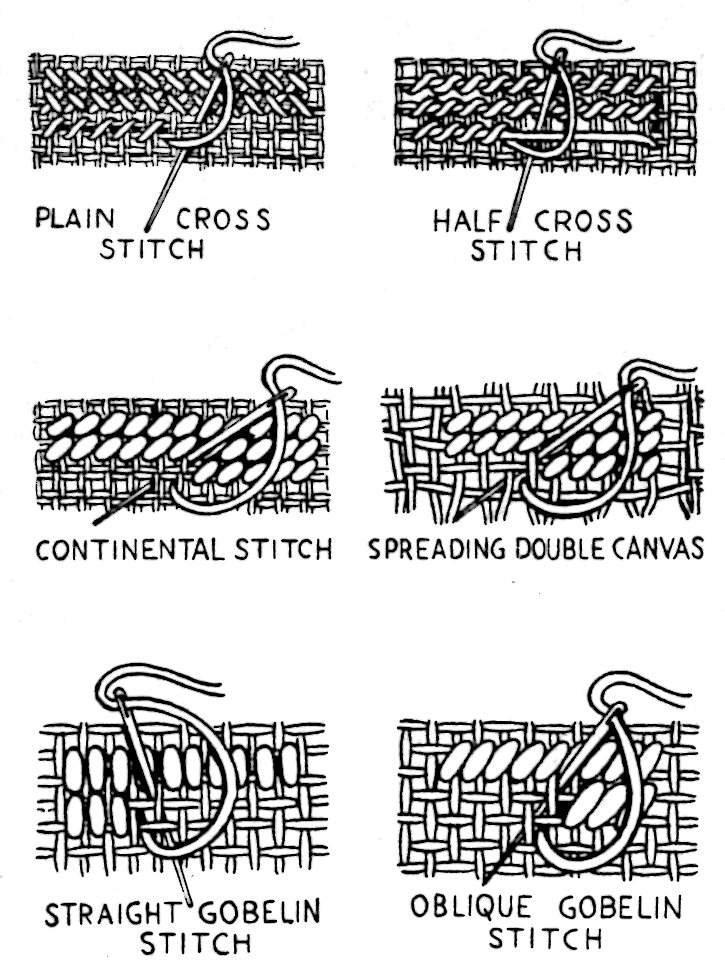
The 2-page PDF file provided below is from a 1954 How-To Book on Needlework. It includes the illustration of basic stitches shown above and the written instructions on how to do them.
Needlepoint How-To Introduction
The file is in PDF format so to read it you’ll need the Adobe Reader software on your computer. Most computers come with it, but it is free and can be found here.
Download Instructions: Right-Click the link and select either “save target as” or “save link as” depending on what browser you are using or simply click on it and save or print.
If you have any needlepoint projects you’ve done that you’d like to share, please visit the VTNS Fanpage, we’d love to see your work.
Enjoy!
